
A leaking hydraulic cylinder left unaddressed does not stabilise — it gets worse. The oil film on the rod attracts abrasive dust, the dust embeds in the seal lip, and the seal lip grinds the rod on every stroke, worsening both the rod surface and the leak rate in a self-reinforcing cycle. Fixing a leaking hydraulic cylinder correctly means identifying the leak source, addressing the root cause, and restoring the rod and bore surfaces before fitting new seals — not just swapping the seal kit and hoping for the best.
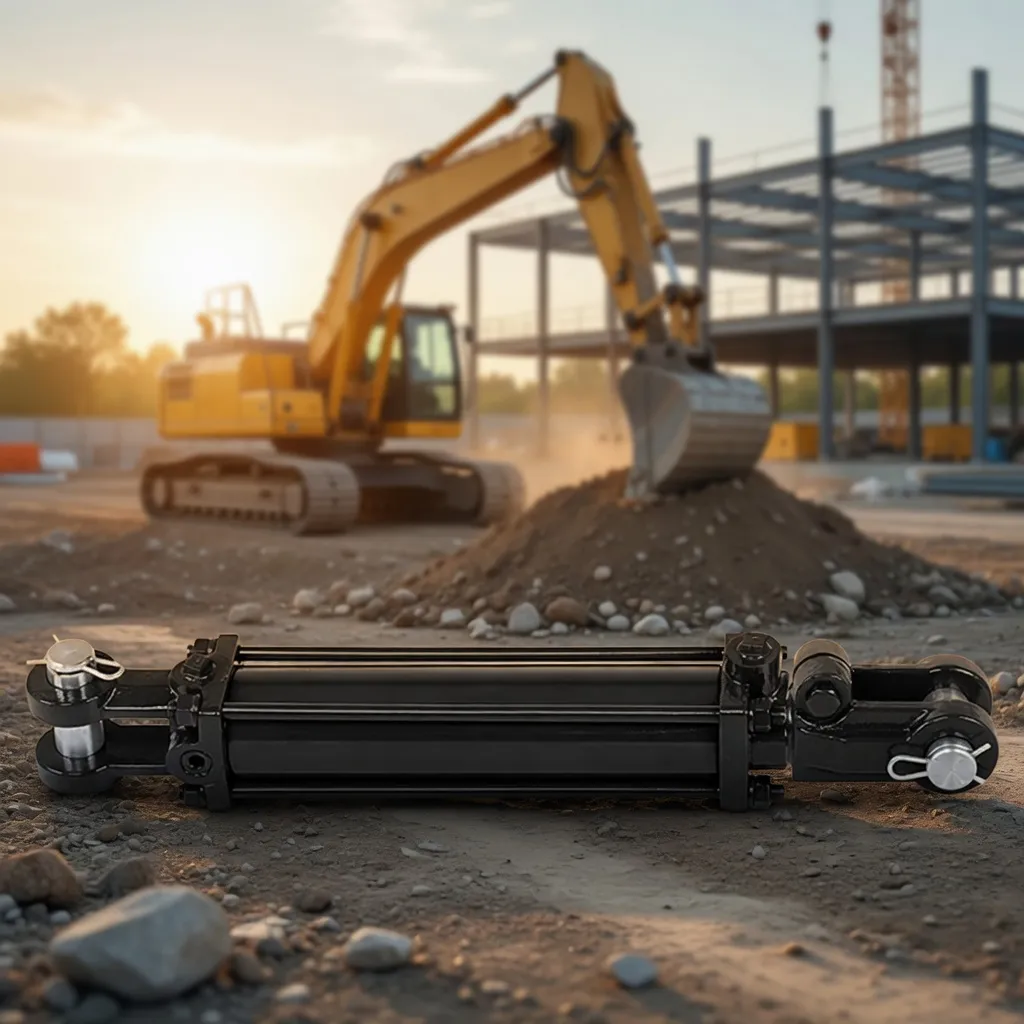
Step 1 — Identify the Leak Location Before Ordering Anything
Different leak locations require different repair approaches. Beginning a repair without confirming the leak source leads to unnecessary disassembly and potential introduction of additional problems. Use this sequence:
Wipe down completely with a clean cloth. Run 3–4 full cycles and observe immediately after. Fresh oil will appear at the leak source — eliminating oil already present before cleaning allows the new leak point to be seen clearly.
Oil at the rod seal area runs down the rod or accumulates in a ring around the gland. Oil at the end cap appears at the cap-to-barrel joint or around port fittings. These are distinct locations requiring different repairs.
With the cylinder loaded and fully extended, cap the hydraulic lines. Observe the rod position over 5 minutes under load. If the rod retracts gradually, the piston seal has bypassed internally — external cleanliness is irrelevant for this diagnosis.
Apply grease around each port fitting and the cap joint, then briefly pressurise. Oil displaces grease precisely at the leak point. A port fitting can often be fixed by re-torquing or replacing the external O-ring without any disassembly.
Step 2 — Inspect the Rod Surface Before Ordering Seal Parts
This step is almost always skipped — and skipping it is why hydraulic cylinders leak again within days of a seal replacement. Run a fingernail across the rod surface in the direction of rod travel. Any snag detectable by touch will destroy new seals. Inspect visually under good lighting for: axial scratches from abrasive contamination, pitting from corrosion, chrome peeling or blistering, and any section where the chrome has worn through to the steel substrate.
| Rod Condition Found | Action Required | New Seals Will Hold? |
|---|---|---|
| Smooth — no detectable defects | Replace seal kit only | Yes |
| Micro-scratches < 0.05 mm — nail catches but no visible groove | Polish with 600-grit crocus cloth axially, then replace seal kit | Yes — after polishing |
| Scratches 0.05–0.15 mm — visible groove | Re-chrome and grind rod, then replace seal kit | Only after re-chroming |
| Pitting or scratches > 0.15 mm depth | Replace rod or full cylinder | No — rod replacement needed |
| Chrome peeling or blistering | Re-chrome entire rod | Only after re-chroming |
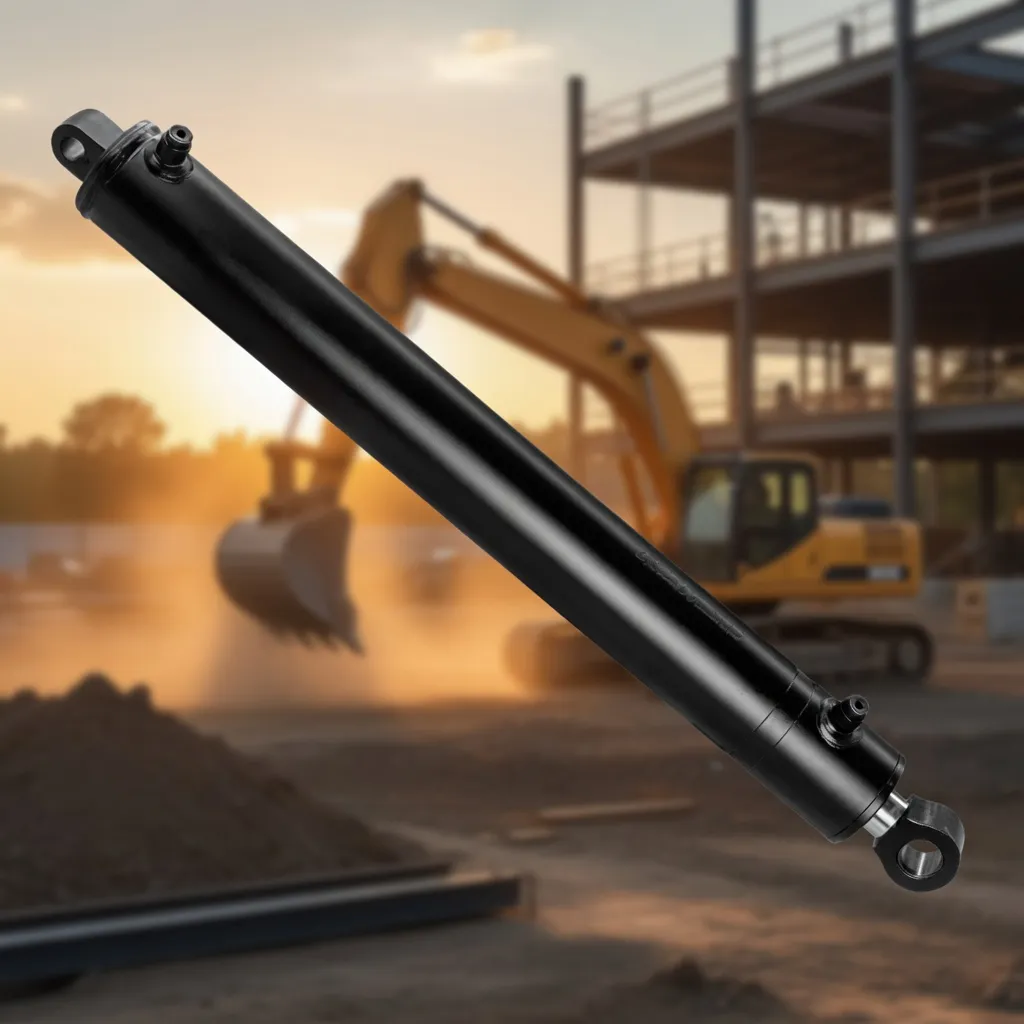
Step 3 — Select the Correct Seal Kit
A hydraulic cylinder seal kit contains: the rod seal, rod wiper seal, piston seal, and all O-rings for the end cap and ports. Order a complete kit matched to your cylinder’s bore and rod diameter — not just the rod seal that has visibly failed. All seals age together, and replacing only the failed one leaves the others near the end of their service life. Specify the correct seal compound for your operating temperature range: PU for outdoor machinery with temperatures down to -30°C; FKM for sustained temperatures above 90°C; NBR for indoor climate-controlled applications.
Step 4 — Address the Root Cause After Repair
A correctly executed seal replacement on a clean rod, with the correct seal compound, in clean hydraulic oil should last 5,000–10,000 hours. If the same cylinder has needed seal replacement within 12 months, the root cause has not been addressed. The three most common root causes: (1) oil contamination above ISO 20/18/15 — sample the oil and reduce to ISO 16/14/11 or better; (2) rod surface scoring from contamination or impact damage — address before next seal replacement; (3) side load from misalignment — check and correct mounting alignment. Contact Ever-Power for seal kits matched to specific cylinder models and for root cause diagnosis support.
A leaking hydraulic cylinder that is correctly repaired — with root cause addressed and rod surface restored — should not leak again for thousands of operating hours. The leaking hydraulic cylinder that returns to the workshop within months of a seal replacement is almost always the result of a root cause that was not fixed: contaminated oil abrading new seals, a scored rod tearing new lip material on first extension, or a side-loaded mounting geometry that concentrates seal lip wear at one point around the circumference. Fix the leaking hydraulic cylinder once, correctly, and it stays fixed.
Addressing a leaking hydraulic cylinder with sealant — liquid thread sealant applied to the rod seal area or end cap joint — is never the correct repair. Sealant temporarily masks the symptom while allowing the underlying cause to worsen: a scored rod continues to destroy the seal compound behind the sealant barrier, and the sealant itself introduces debris into the seal zone on the next pressure cycle. A leaking hydraulic cylinder must be properly disassembled, the root cause identified and corrected, and new seals installed correctly. There is no shortcut that produces a durable result on a leaking hydraulic cylinder.
Request a Free Specification Review
Send your application details to [email protected] or call +86-571-88220653. Our engineers respond within 24 hours.